〇TEAエディターの画面

Ubuntu Softwareによるインストール方法
1. Ubuntu Softwareを起動して、TEAを検索します。
2.TEAのインストールボタンをクリックします

コマンドによるインストール方法
以下のコマンドを実行します。sudo apt-get update
sudo apt-get -y install tea
関連情報
・TEAエディターのgithubリポジトリhttps://github.com/psemiletov/tea-qt
sudo apt-get update

sudo apt-get -y install tea
# install node.js
curl -sL https://rpm.nodesource.com/setup_14.x | sudo bash -

sudo dnf -y install nodejs

# install yarn
curl -sL https://dl.yarnpkg.com/rpm/yarn.repo | sudo tee /etc/yum.repos.d/yarn.repo

sudo yum -y install yarn

# install prettier
sudo yarn global add prettier
$ echo '<!DOCTYPE html><html lang="ja"><head><meta charset="UTF-8"><title>sample</title></head><body>サンプル</body></html>' | prettier --stdin-filepath test.html
<!DOCTYPE html>
<html lang="ja">
  <head>
    <meta charset="UTF-8" />
    <title>sample</title>
  </head>
  <body>
    サンプル
  </body>
</html>
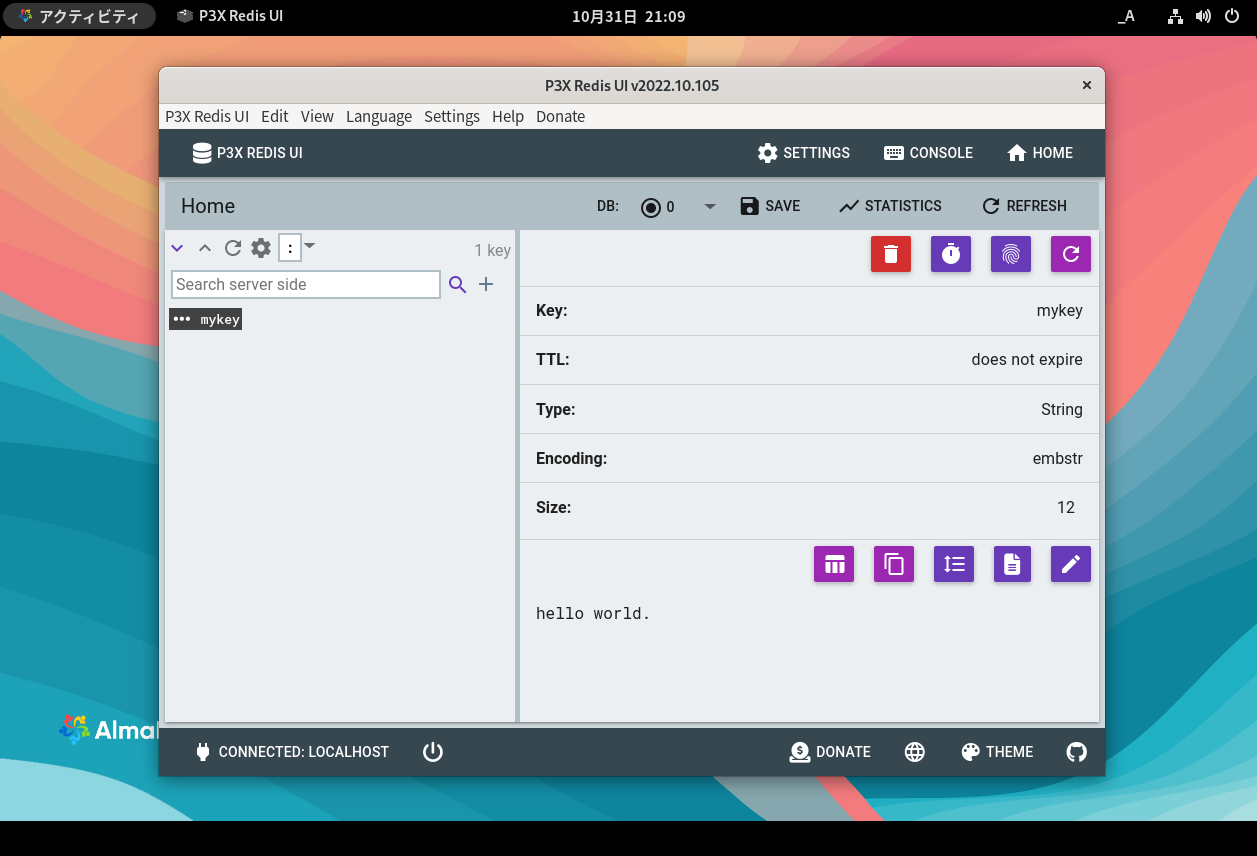

sudo dnf -y install redis

sudo systemctl enable redis

sudo systemctl start redis

# 動作確認は以下のコマンドを実行します。
redis-cli << EOF
ping
flushall
set mykey "hello world."
get mykey
EOF
sudo mkdir -p /opt/redis-ui

cd /opt/redis-ui

sudo wget https://github.com/patrikx3/redis-ui/releases/download/v2022.10.105/P3X-Redis-UI-2022.10.105.AppImage

sudo chmod +x P3X-Redis-UI-2022.10.105.AppImage

cat << EOF | sudo tee /usr/share/applications/redis-ui.desktop
[Desktop Entry]
Version=1.0
Type=Application
Terminal=false
Exec=/opt/redis-ui/P3X-Redis-UI-2022.10.105.AppImage
Name=P3X Redis UI
Categories=Development;
EOF

sudo apt-get update

sudo apt-get -y install build-essential gir1.2-gtk-3.0 gir1.2-rsvg-2.0 gobject-introspection libgirepository1.0-dev libglib2.0-dev libgtksourceview-3.0-dev libjpeg-dev libpango1.0-dev python3-dev python3-gi python3-gi-cairo python3-wrapt python3-setuptools

wget https://github.com/shoebot/shoebot/archive/refs/tags/v1.4.tar.gz

tar xvfz v1.4.tar.gz

sudo mv ./shoebot-1.4 /opt

cd /opt/shoebot-1.4

sudo python3 setup.py install

cat << EOF | sudo tee /usr/share/applications/shoebot.desktop
#!/usr/bin/env xdg-open
[Desktop Entry]
Version=1.0
Type=Application
Terminal=false
Exec=/usr/local/bin/shoebot
Name=Shoebot
Categories=Development;
Icon=/opt/shoebot-1.4/assets/shoebot-ide.png
EOF
sudo apt-get -y install contextfree

# サンプルの実行
wget https://www.contextfreeart.org/gallery/uploads/7a/59/7a598fa290a056e9f09e7a29c2c90e7e/4113/galaxy.cfdg
cfdg galaxy.cfdg galaxy.png


wget --inet4-only https://github.com/processing/processing4/releases/download/processing-1286-4.0.1/processing-4.0.1-linux-x64.tgz

tar xvfz processing-4.0.1-linux-x64.tgz

cd processing-4.0.1

./install.sh

sudo apt-get update

sudo apt-get -y install mariadb-server

sudo mysql -uroot -e "SET PASSWORD = PASSWORD('root'); FLUSH PRIVILEGES;"

mysql -uroot -proot -e "CREATE DATABASE ttrss DEFAULT CHARACTER SET utf8mb4;"

mysql -uroot -proot -e "CREATE USER ttrss@localhost IDENTIFIED BY 'ttrss';"

mysql -uroot -proot -e "GRANT ALL PRIVILEGES ON ttrss.* TO 'ttrss'@'localhost';"

mysql -uroot -proot -e "FLUSH PRIVILEGES;"
sudo apt-get -y install apache2 \
  php8.1 \
  libapache2-mod-php8.1 \
  php8.1-pdo-mysql \
  php8.1-common \
  php8.1-xml \
  php8.1-intl \
  php8.1-fileinfo \
  php8.1-curl \
  php8.1-mbstring \
  php8.1-gd

sudo apt-get -y install git

git clone https://git.tt-rss.org/fox/tt-rss.git tt-rss

cp tt-rss/config.php-dist tt-rss/config.php

echo "putenv('TTRSS_DB_HOST=localhost');" >> tt-rss/config.php
echo "putenv('TTRSS_DB_NAME=ttrss');" >> tt-rss/config.php
echo "putenv('TTRSS_DB_USER=ttrss');" >> tt-rss/config.php
echo "putenv('TTRSS_DB_PASS=ttrss');" >> tt-rss/config.php
echo "putenv('TTRSS_SELF_URL_PATH=https://<ホスト名またはIPアドレス>/ttrss');" >> tt-rss/config.php
echo "putenv('TTRSS_DB_TYPE=mysql');" >> tt-rss/config.php
echo "putenv('TTRSS_DB_PORT=3306');" >> tt-rss/config.php


cd tt-rss

./update.php --update-schema
cd ..

sudo mv tt-rss /opt/ttrss

sudo chown -R www-data:www-data /opt/ttrss

sudo sudo ln -s /opt/ttrss/ /var/www/html/

sudo systemctl restart apache2

cat << EOF | sudo tee /etc/systemd/system/ttrss.service
[Unit]
Description=ttrss_backend
After=network.target

[Service]
User=www-data
ExecStart=/opt/ttrss/update_daemon2.php

[Install]
WantedBy=multi-user.target
EOF

sudo systemctl enable ttrss.service

sudo systemctl start ttrss.service
