XRDPがインストールされているので、Windowsのリモートデスクトップで接続することができます。ユーザ名はVagrant、パスワードもVagrantでログオンできます。
Vagrantfile
VAGRANTFILE_API_VERSION = "2"

Vagrant.configure(VAGRANTFILE_API_VERSION) do |config|
  config.vm.box = "bento/debian-9.2"
  config.vm.hostname = "db92gnomepdi800"
  config.vm.network "public_network", ip:"192.168.1.114", :netmask => "255.255.255.0"
  config.vm.provider :virtualbox do |vbox|
     vbox.name = "db92gnomepdi800"
     vbox.gui = true
     vbox.cpus = 4
     vbox.memory = 4096
  end
  config.vm.provision "shell", inline: <<-SHELL
apt-get update
#DEBIAN_FRONTEND=noninteractive apt-get -y -o Dpkg::Options::="--force-confdef" -o Dpkg::Options::="--force-confold" upgrade
apt-get -y install task-japanese
sed -i -e 's/# ja_JP.UTF-8 UTF-8/ja_JP.UTF-8 UTF-8/' /etc/locale.gen
locale-gen
update-locale LANG=ja_JP.UTF-8
localectl set-locale LANG=ja_JP.UTF-8
localectl set-keymap jp106
apt-get update
cat << EOF > /etc/default/keyboard
XKBMODEL="pc106"
XKBLAYOUT="jp"
XKBVARIANT=""
XKBOPTIONS=""
BACKSPACE="guess"
EOF
cat << EOF > /home/vagrant/.xprofile
export GTK_IM_MODULE=fcitx
export QT_IM_MODULE=fcitx
export XMODIFIERS="@im=fcitx"
sed -i -e "s/^EnabledIMList.*$/EnabledIMList=fcitx-keyboard-jp:True,mozc:True,fcitx-keyboard-us:False/" /home/vagrant/.config/fcitx/profile
fcitx-remote -r
fcitx -r -d
EOF
chown vagrant:vagrant .xprofile
apt-get -y install  xrdp fcitx-mozc task-gnome-desktop tigervnc-standalone-server
export DISPLAY=:0.0
im-config -n fcitx
sudo -u vagrant bash -i -c "export DISPLAY=:0.0 && fcitx -r"
cp /etc/xrdp/xrdp.ini /etc/xrdp/xrdp.ini.org
cat /etc/xrdp/xrdp.ini.org | gawk '/\\[Globals\\]/,/\\[Xorg\\]/' | sed -e 's/\\[Xorg\\]//' > /etc/xrdp/xrdp.ini
cat << EOF >> /etc/xrdp/xrdp.ini
[Xvnc]
name=Xvnc
lib=libvnc.so
username=ask
password=ask
ip=127.0.0.1
port=-1
EOF
systemctl restart xrdp
systemctl enable xrdp

# install java
apt-get -y install openjdk-8-jdk


# install pentaho data integration 8.0.0
wget 'https://sourceforge.net/projects/pentaho/files/Pentaho%208.0/client-tools/pdi-ce-8.0.0.0-28.zip';
unzip pdi-ce-8.0.0.0-28.zip
mv data-integration/ /opt

# Pentaho Data Integrationのショートカットを作成
cat << EOF > /usr/share/applications/spoon.desktop
#!/usr/bin/env xdg-open
[Desktop Entry]
Version=1.0
Type=Application
Terminal=false
Exec=/opt/data-integration/spoon.sh
Name=Spoon
EOF
chmod +x /usr/share/applications/spoon.desktop
chown vagrant:vagrant /usr/share/applications/spoon.desktop

init 5
SHELL
end
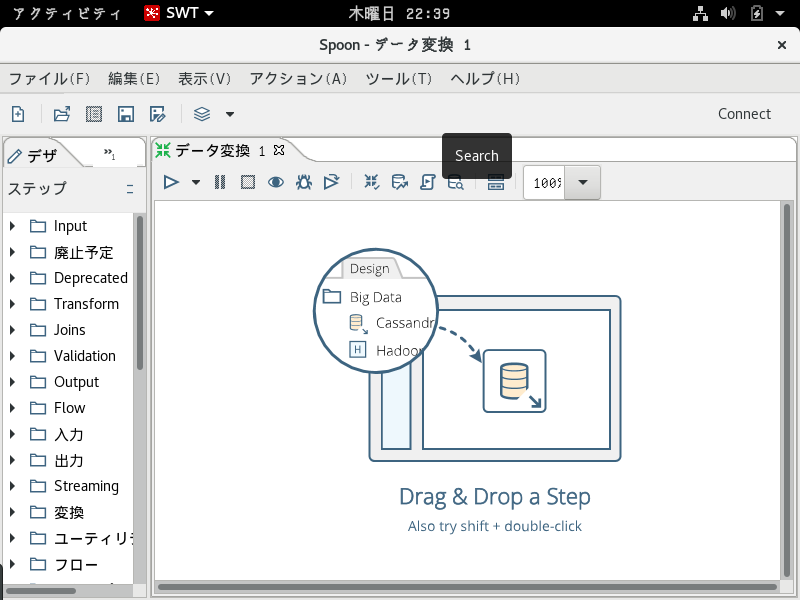
○Pentaho Data Integration
○関連情報
・Pentahoに関する他の記事はこちらを参照してください。
0 件のコメント:
コメントを投稿