○Apache Supersetの画面
○構築方法
以下のVagrantfileを使用して、Apache SupersetとPercona Serverをインストールした仮想マシン(CentOS7.4)を構築する事ができます。
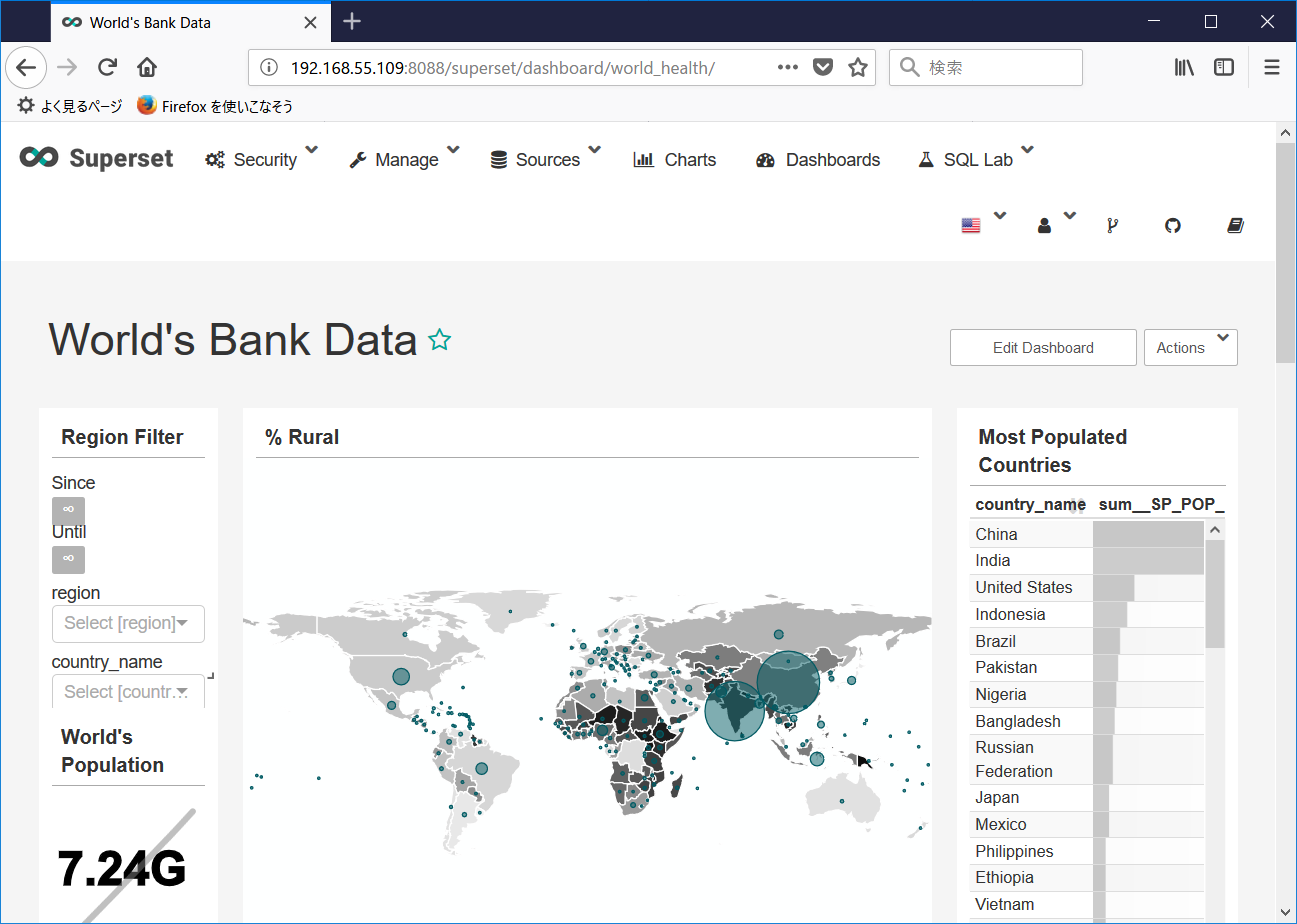
仮想マシンが構築された後、ブラウザからhttp://192.168.55.109:8088/にアクセスします。
デフォルトユーザ名はadmin、パスワードもadminです。
Vagrantfile
VAGRANTFILE_API_VERSION = "2"

Vagrant.configure(VAGRANTFILE_API_VERSION) do |config|
  config.vm.box = "bento/centos-7.4"
  config.vm.hostname = "co74supersetpercona"
  config.vm.provider :virtualbox do |vbox|
     vbox.name = "co74supersetpercona"
     vbox.cpus = 2
     vbox.memory = 2048
     vbox.customize ["modifyvm", :id, "--nicpromisc2","allow-all"]
  end
config.vm.network "private_network", ip: "192.168.55.109", :netmask => "255.255.255.0"
config.vm.network "public_network", ip:"192.168.1.109", :netmask => "255.255.255.0"
  config.vm.provision "shell", inline: <<-SHELL
localectl set-locale LANG=ja_JP.UTF-8

# install Percona Server
yum -y install http://www.percona.com/downloads/percona-release/redhat/0.1-4/percona-release-0.1-4.noarch.rpm
yum -y install Percona-Server-server-57
service mysql start

export MYSQL_ROOTPWD='Root123#'
export MYSQL_PWD=`cat /var/log/mysqld.log | awk '/temporary password/ {print $NF}'`
mysql -uroot -p$MYSQL_PWD --connect-expired-password -e "SET PASSWORD = PASSWORD('$MYSQL_ROOTPWD');"
mysql -uroot -p$MYSQL_ROOTPWD --connect-expired-password -e "UNINSTALL PLUGIN validate_password;"
mysql -uroot -p$MYSQL_ROOTPWD --connect-expired-password -e "SET PASSWORD = PASSWORD('root'); FLUSH PRIVILEGES;"

mysql -uroot -proot -e "CREATE DATABASE test DEFAULT CHARACTER SET utf8;"
mysql -uroot -proot -e "CREATE USER test@localhost IDENTIFIED BY 'test';"
mysql -uroot -proot -e "GRANT ALL PRIVILEGES ON test.* TO 'test'@'localhost';"
mysql -uroot -proot -e "FLUSH PRIVILEGES;"
mysql -utest -ptest test -e "create table messages (message_id integer not null, message varchar(100));"
mysql -utest -ptest test -e "insert into messages value (1, 'hello world.');"
mysql -utest -ptest test -e "insert into messages value (2, 'test message.');"

# install anaconda
wget https://repo.continuum.io/archive/Anaconda3-5.1.0-Linux-x86_64.sh
chmod +x Anaconda3-5.1.0-Linux-x86_64.sh
./Anaconda3-5.1.0-Linux-x86_64.sh -b -p /opt/anaconda
source /opt/anaconda/bin/activate
#pip install --upgrade pip

# install dependencies
yum -y install epel-release python-devel gcc-c++ openldap-devel openssl-devel mysql-devel

# install mysqlclient
pip install mysqlclient

pip install --upgrade setuptools
pip install superset
pip install cryptography --upgrade
mkdir -p /opt/superset
cd /opt/superset
fabmanager create-admin --app superset --username admin --firstname admin --lastname user --email admin@localhost.localdomain --password admin
superset db upgrade
superset load_examples
superset init
superset runserver -a 0.0.0.0 &
echo 'access http://192.168.55.109:8088/'
echo 'user:admin, password: admin'

SHELL
end
○データソースの追加
同じ仮想マシンにインストールされたPercona Serverに接続するには、以下の画面のようにSQLAlchemy URIにmysql://test:test@localhost/testを指定します。

0 件のコメント:
コメントを投稿